
Android 8.0(API 级别 26)引入了 XML 字体,此功能让您可以使用字体作为资源。您可以将 font 文件添加到 res/font/ 文件夹中,以将字体捆绑为资源。这些字体会编译到您的 R 文件中,并在 Android Studio 中自动可用。您可以使用 font 资源类型访问字体资源。例如,要访问字体资源,可以使用 @font/myfont 或 R.font.myfont。
如要在搭载 Android 4.1(API 级别 16)及更高版本的设备上使用 XML 字体功能,请使用 Support Library 26.0。如需详细了解如何使用 Support Library,请参阅使用 Support Library 部分。
如要将字体添加为资源,请在 Android Studio 中执行以下步骤:
- 右键点击 res 文件夹,然后依次选择 New > Android resource directory。系统会显示 New Resource Directory 窗口。
- 在 Resource type 列表中,选择 font,然后点击 OK。
注意:资源目录的名称必须是 font。
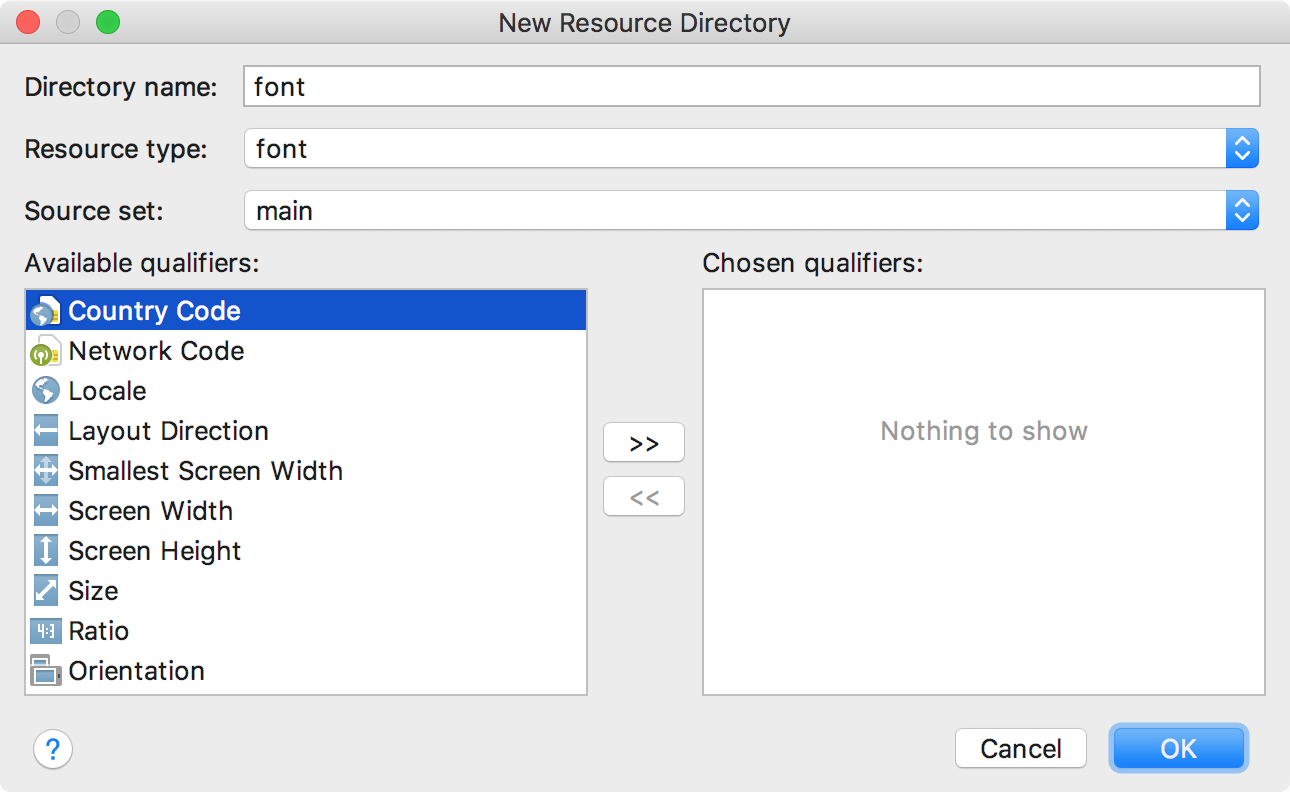
图 1. 添加字体资源目录。
- 将字体文件添加到
font文件夹中。以下文件夹结构会生成
R.font.dancing_script、R.font.lobster和R.font.typo_graphica。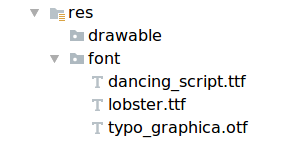
图 2. 在
res/font目录中添加字体文件。 - 双击某个字体文件可在编辑器中预览该文件的字体。
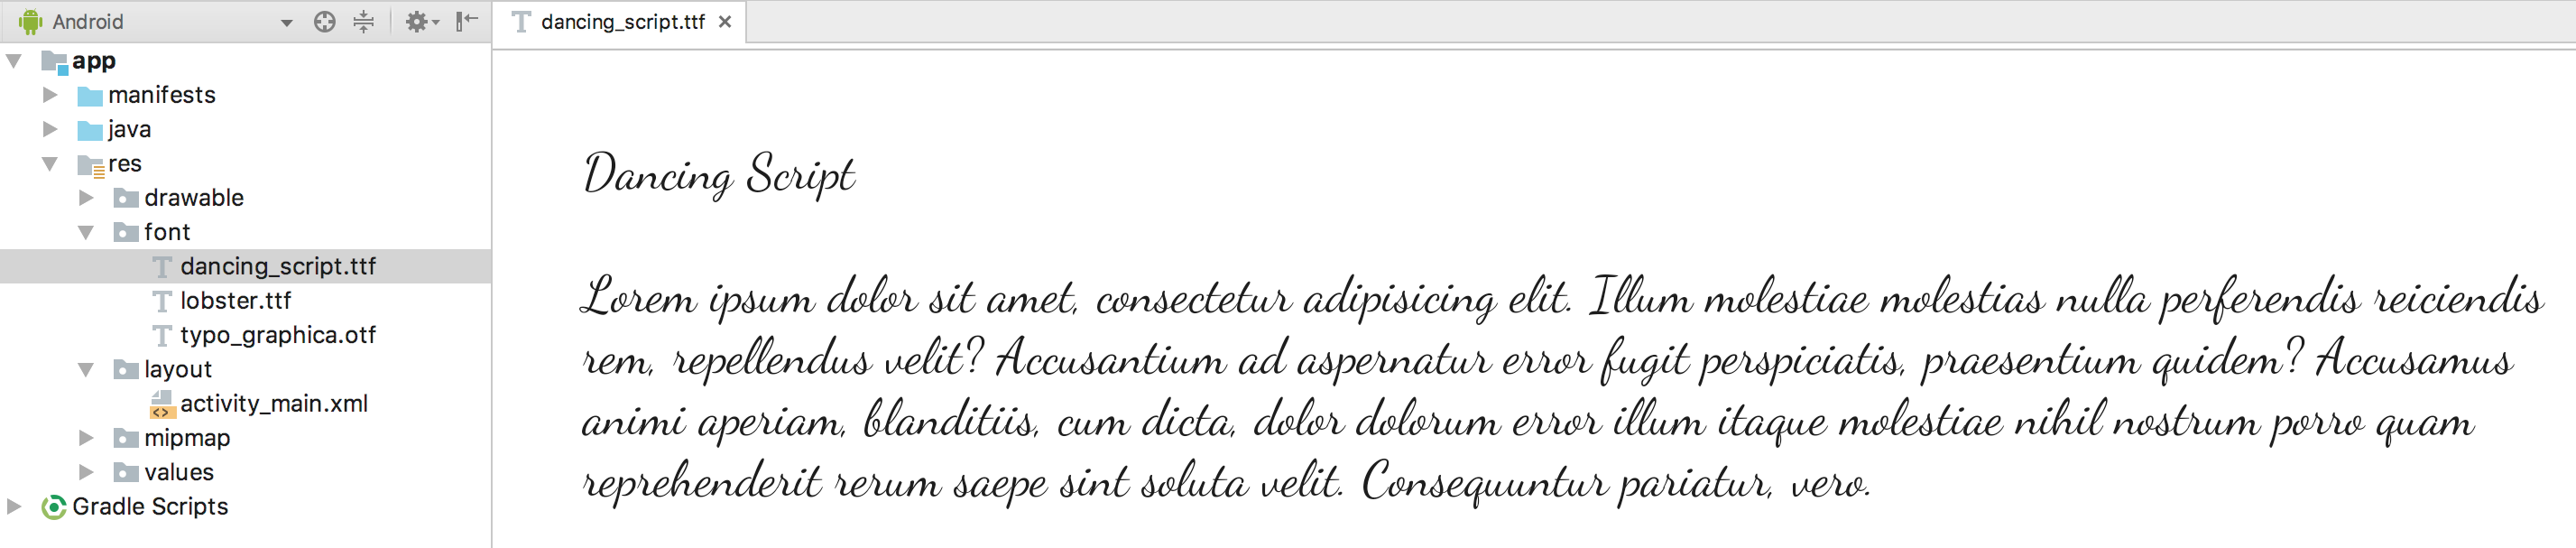
图 3. 预览字体文件。
创建字体系列
字体系列是一组字体文件以及样式和字重详情。在 Android 中,您可以创建新的字体系列作为 XML 资源,并将其作为单一单元访问,而不是将每个样式和字重引用为单独的资源。这样,系统就会根据您使用的文本样式选择正确的字体。
如要创建字体系列,请在 Android Studio 中执行以下步骤:
- 右键点击
font文件夹,然后依次选择 New > Font resource file。系统会显示 New Resource File 窗口。 - 输入文件名,然后点击 OK。新的字体资源 XML 会在编辑器中打开。
- 将每个字体文件、样式和字重属性封装在
<font>元素中。以下 XML 演示了如何在字体资源 XML 中添加与字体相关的属性:<?xml version="1.0" encoding="utf-8"?> <font-family xmlns:android="http://schemas.android.com/apk/res/android"> <font android:fontStyle="normal" android:fontWeight="400" android:font="@font/lobster_regular" /> <font android:fontStyle="italic" android:fontWeight="400" android:font="@font/lobster_italic" /> </font-family>
在 XML 布局中使用字体
在 TextView 对象中或在样式中使用 fontFamily 属性,即可使用您的字体(单个字体文件或字体系列中的字体)。
注意:使用字体系列时,TextView 会根据需要自动切换,以使用该系列中的字体文件。
向 TextView 添加字体
如要为 TextView 设置字体,请执行以下任一操作:
- 在布局 XML 文件中,将
fontFamily属性设置为您想要访问的字体文件。<TextView android:layout_width="wrap_content" android:layout_height="wrap_content" android:fontFamily="@font/lobster"/>
- 打开 Properties 窗口,为
TextView设置字体。- 选择一个视图以打开 Properties 窗口。
注意:Properties 窗口仅在设计编辑器打开时可用。选择窗口底部的 Design 标签页。
- 展开 textAppearance 属性,然后从 fontFamily 列表中选择字体。
-

图 4. 从 Properties 窗口选择字体。
- 选择一个视图以打开 Properties 窗口。
Android Studio 布局预览(如图 5 最右侧窗格所示)可让您预览在 TextView 中设置的字体。
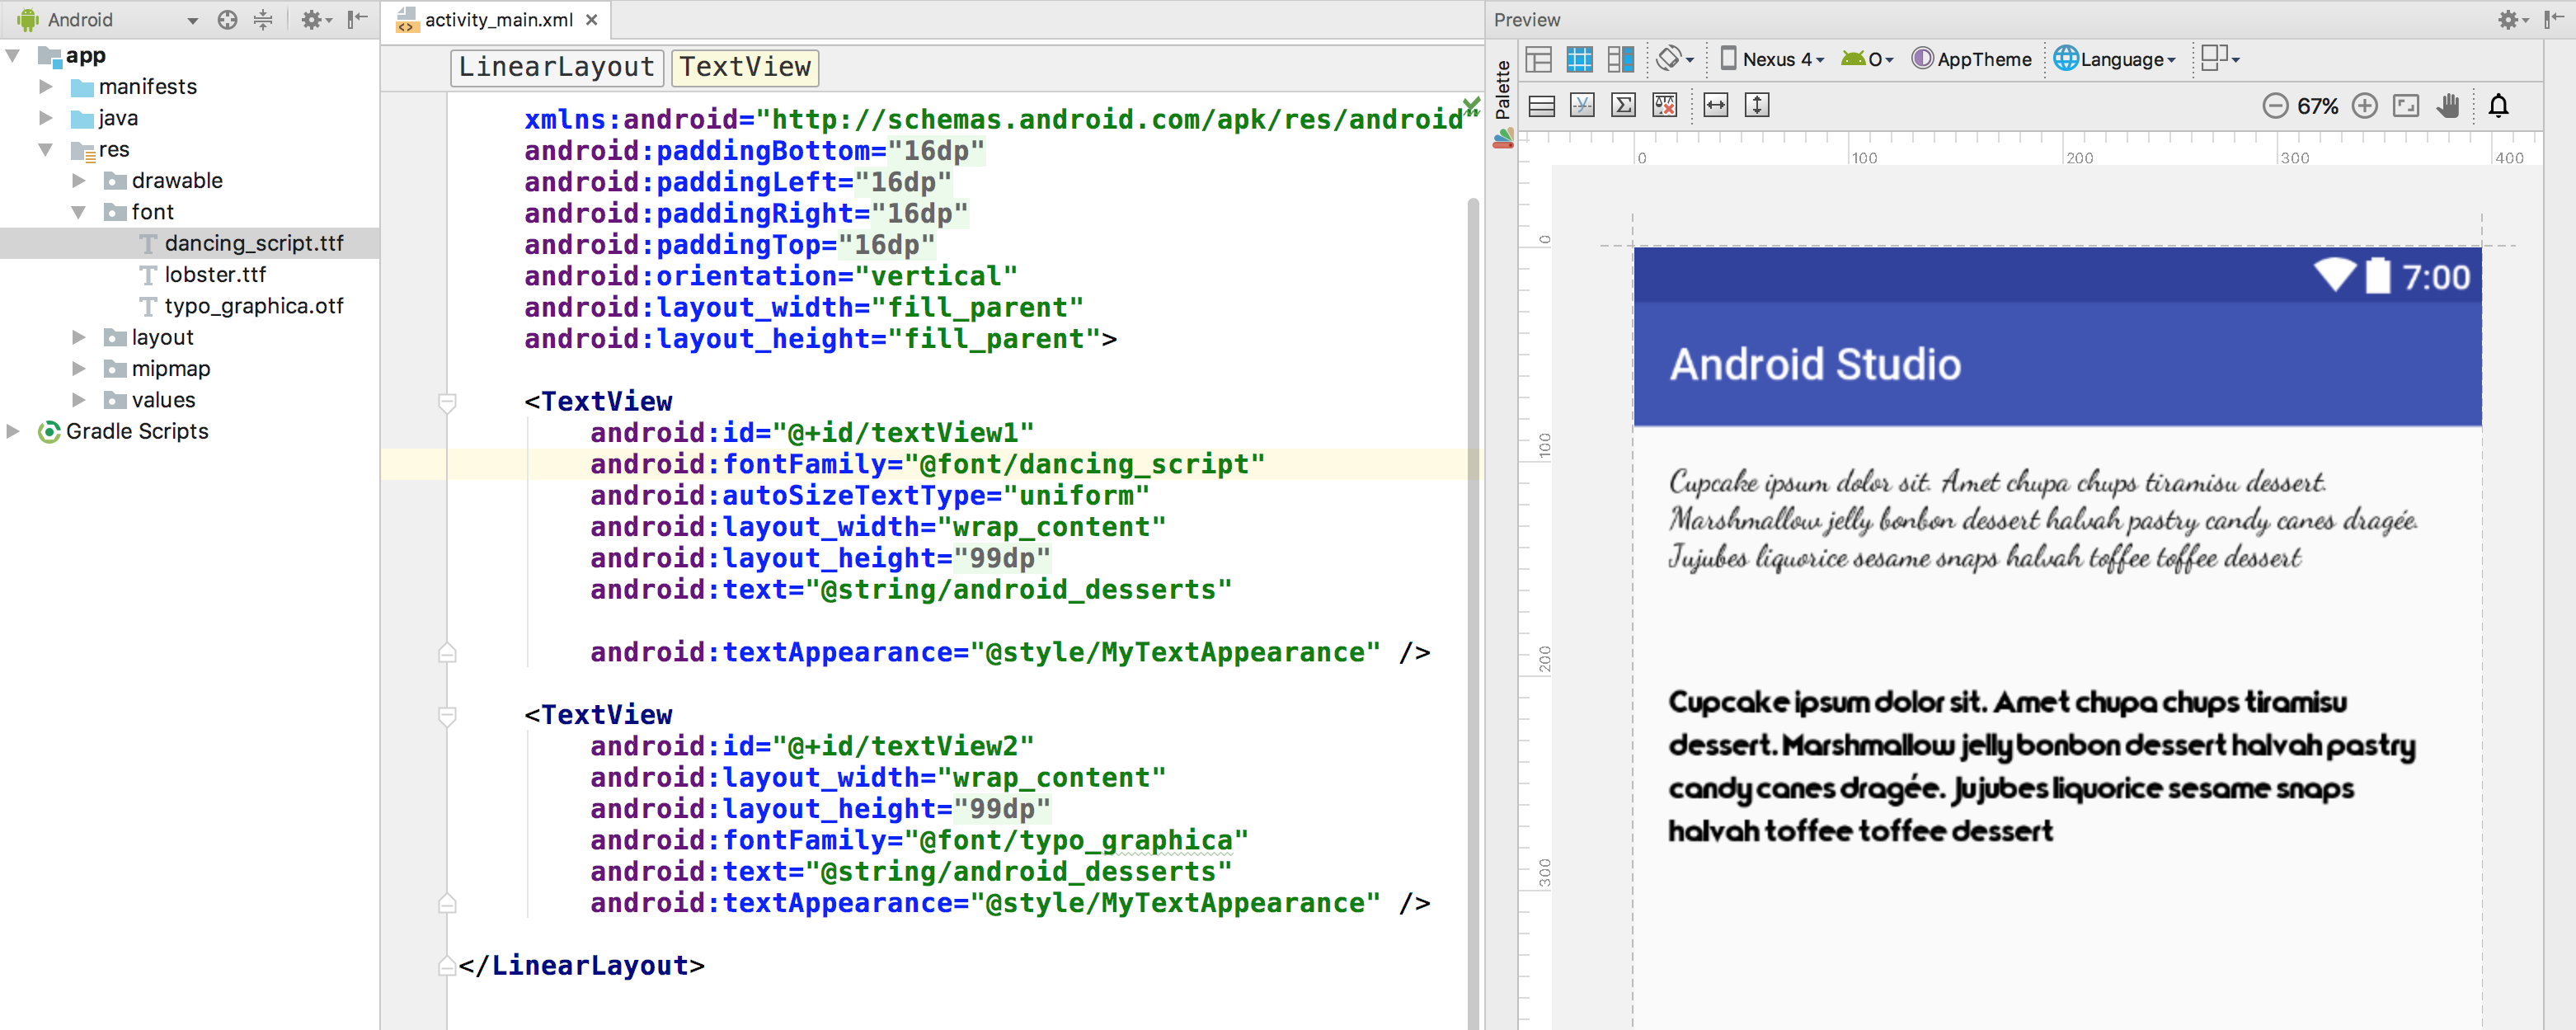
图 5. 在布局预览中预览字体。
向样式添加字体
打开 styles.xml 文件,并将 fontFamily 属性设置为您想要访问的字体文件。
<style name="customfontstyle" parent="@android:style/TextAppearance.Small">
    <item name="android:fontFamily">@font/lobster</item>
</style>
以编程方式使用字体
如要以编程方式检索字体,请调用 getFont(int) 方法并提供您要检索的字体的资源标识符。此方法会返回一个 Typeface 对象。虽然系统会根据字体的相关信息为您选择最佳样式,但您可以使用 setTypeface(android.graphics.Typeface, int) 方法设置具有特定样式的 Typeface。
注意:TextView 会替您执行此操作。
Kotlin
val typeface = resources.getFont(R.font.myfont)
textView.typeface = typeface
Java
Typeface typeface = getResources().getFont(R.font.myfont);
textView.setTypeface(typeface);
使用 Support Library
Support Library 26.0 支持在搭载 Android 4.1(API 级别 16)及更高版本的设备上使用 XML 字体。
注意:通过 Support Library 在 XML 布局中声明字体系列时,请使用 app 命名空间,以确保字体加载。
<?xml version="1.0" encoding="utf-8"?>
<font-family xmlns:app="http://schemas.android.com/apk/res-auto">
    <font app:fontStyle="normal" app:fontWeight="400" app:font="@font/myfont-Regular"/>
    <font app:fontStyle="italic" app:fontWeight="400" app:font="@font/myfont-Italic" />
</font-family>
如要以编程方式检索字体,请调用 ResourceCompat.getFont(Context, int) 方法,并提供 Context 实例和资源标识符。
Kotlin
val typeface = ResourcesCompat.getFont(context, R.font.myfont)
Java
Typeface typeface = ResourcesCompat.getFont(context, R.font.myfont);